TekMatix Blog & Help Articles
Use the search bar below to look for help articles you need.

Workflow Action: Facebook - Remove From Custom Audience
In the article you will learn how to properly set up the Workflow Action: Facebook - Remove From Custom Audience
Please Note: You will need to connect your Facebook account, select a page, and have a customer added from a lead.
Step 1: Start a new workflow or edit an existing one
Step 2: Set up applicable Workflow Trigger(s). We have multiple articles available to explain the setup of each of the Workflow Triggers. Feel free to review our articles on these for more information on setting these up.
Step 3: Setting up the Add to Custom Audience Action
Click on the “+” symbol below the trigger to add an action.
Under Actions, select Facebook - Remove From Custom Audience in the CRM section of the Actions Menu or use the search feature. Upon selection, the Action setup menu will appear
(Optional) You can change the workflow builder display name of this action using the textbox below Action Name. Note that this will only affect the display name within the workflow builder and has no other impact on the content or functionality of this Workflow Action.
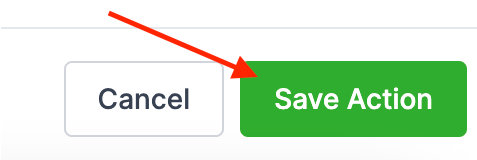
Press Save Action in the bottom right corner

Step 4: Press Save in the top right corner of your browser to save the workflow
If your Workflow is ready to be enabled, make sure the toggle switch under Save is set to Publish
Be sure to test your Workflow to make sure it is set up correctly using the Test Workflow button next to the Publish toggle switch.
For an in-depth overview of Workflow Testing see our article, “Using the Testing Features in Workflows”
Now your Workflow is set up and ready to go with the Facebook - Remove From Custom Audience Workflow Action!
Copyright © 2025 TekMatix. All rights reserved | support@tekmatix.com

